Melt With You

Melt With You is my favorite craft to make so far. It’s fun, messy and colorful.

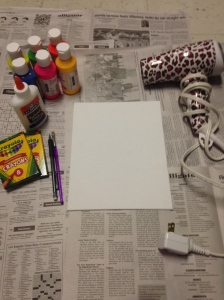
To begin gather some crayons, a canvas, some paint, a pencil with an eraser, a bottle of glue, a hair dryer and some newspaper to put underneath.

Photo by Katy McGrath

Photo by Katy McGrath

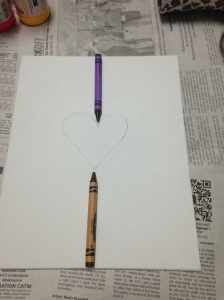
Next, use the pencil to sketch a heart to use as a guide for placing your crayons. I put one crayon on the bottom of the canvas and one on the top to get an idea of where I should draw my heart so every cray stays on the canvas, as shown in the picture below.

Photo by Katy McGrath

Photo by Katy McGrath

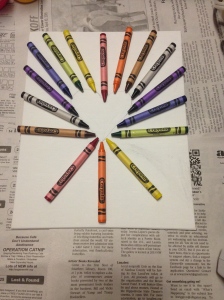
Then place your crayons in the desired position. To get a brighter finished product, leave out the blacks and browns. I left mine in for a darker finish. After placing the crayons in their spots, glue them down.

IMG_6279

Photo by Katy McGrath

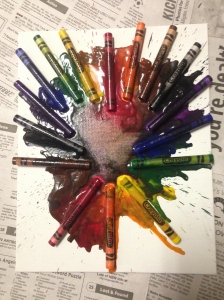
When the glue dries, plug in your hair dryer and begin melting the crayons. This part gets a little messy. Watch out for splatting crayon. When they first get hot, the crayons will spurt out on to the newspaper. To control where the melted crayon goes, either pick up the canvas and tilt it different ways, or use the hair dryer to manipulate where the melted crayon goes. I dried the center as much as I could to get the heart shape back.

Photo by Katy McGrath

Photo by Katy McGrath

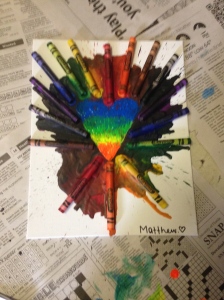
Because the crayon melts everywhere and of the little amount of crayons I used, the shape of my heart disappeared a little bit. To fix that, I painted a heart where my crayon heart was supposed to be. The more crayons you have the better your shape will turn out.

Photo by Katy McGrath

Photo by Katy McGrath

That’s it! Now you have a colorful masterpiece.

Thank you for reading!

I liked this craft so much that I will post more crayon art in the future. Stay tuned for more!
Love at Initial Sight

Love at Initial Sight is a craft that is very personalized. Not only does it include your loved one’s first initial (see what I did there?), but it also includes your own personal touch that makes this craft unique with every making.

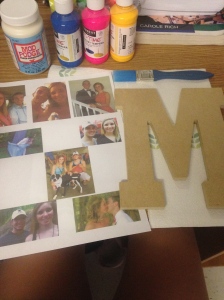
To start out, gather your loved one’s wooden initial, paint of any color, a paintbrush, mod podge (a gluey sort of sealant), and any pictures or personal touches of your own printed on a sheet of paper.

Photo by Katy McGrath

Photo by Katy McGrath

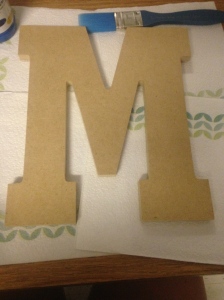
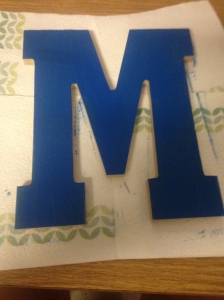
After gathering your materials, begin painting your wooden initial so it has time to dry. I am using the letter ‘M’ for ‘Matthew’ and his favorite color, blue.

IMG_6261

Photo by Katy McGrath

IMG_6262

Photo by Katy McGrath


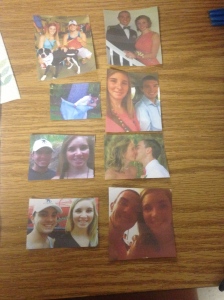
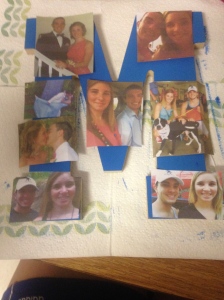
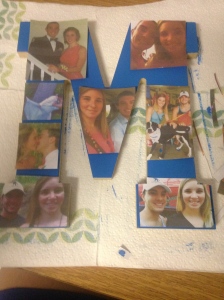
Next, cut out your pictures or any other material you printed on a sheet of paper. It does not matter whether you print in black and white or in color. Then place them on your initial and crease wherever your pictures go over the edge.

IMG_6263

Photo by Katy McGrath

IMG_6264

Photo by Katy McGrath


Trim the sides of your pictures so they fit properly on to your initial.

IMG_6265

Photo by Katy McGrath

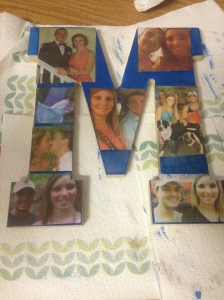
The last step can go a couple of ways. Either you can paint mod podge over your entire initial or you can glue the pictures down using a glue stick. I opted to use mod podge.

IMG_6266

Photo by Katy McGrath

Congratulations! Now you have found Love at Initial Sight.
Thank you for reading!

Springtime Love

With spring just around the corner, I wanted to move our hearts and laughs into a more festive direction.

Springtime Love is a craft that is fun for the whole family and will bring happiness year round.

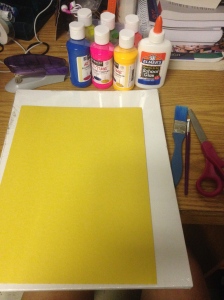
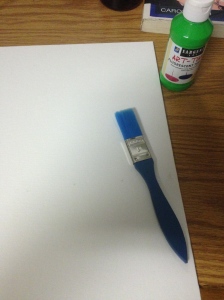
First, you will need to gather some construction paper of the color of your choice, a canvas (or sturdy paper), scissors, a paintbrush, paint of the color of your choice, a stapler and some glue. I recommend using Elmer’s bottled glue instead of a stick of glue. I also used an 11-inch by 14-inch canvas.

Photo by Katy McGrath

Photo by Katy McGrath

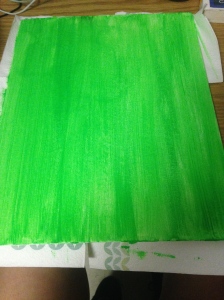
The first thing you’ll want to do after gathering your supplies is to begin painting your canvas so it has time to dry. I used a neon green tempera paint to give it a springtime feel.

Photo by Katy McGrath

Photo by Katy McGrath

Photo by Katy McGrath

Photo by Katy McGrath


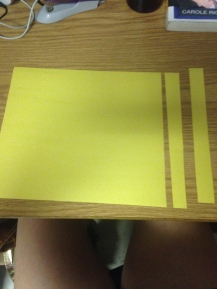
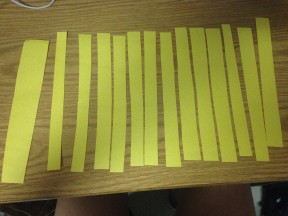
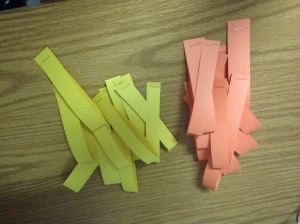
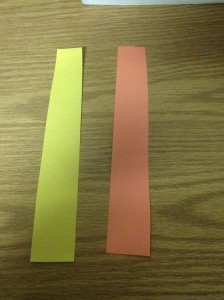
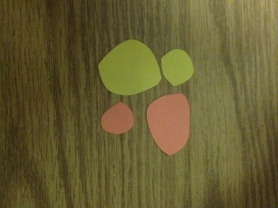
While your canvas is drying, take your construction paper and cut each page into strips about half an inch wide. I cut mine into 13 strips, leaving the 14th strip wider than the rest for later use.

Photo by Katy McGrath

Photo by Katy McGrath


Photo by Katy McGrath

Photo by Katy McGrath


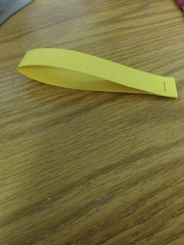
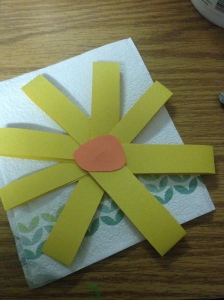
Then take these strips and fold them in half from end to end and staple it together. Be sure to flatten out the strip so there is a crease at the top. I used two colors here. Feel free to use as many colors as you like to make the pedals to your flowers.

Photo by Katy McGrath

Photo by Katy McGrath

Photo by Katy McGrath

Photo by Katy McGrath


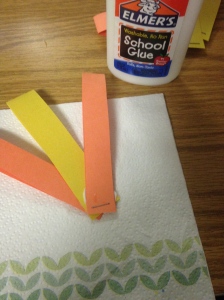
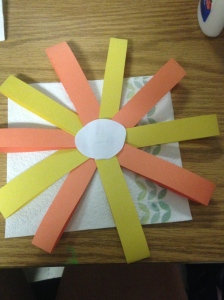
Next, start placing your pedals one end on top of the next pedal’s end. Use glue to secure them together. Continue until you have your flower.

Photo by Katy McGrath

Photo by Katy McGrath

Then use the wider strips you left out earlier to cut out the middle of the flower. I cut out a couple different sizes to make sure they fit my flower.

Photo by Katy McGrath

Photo by Katy McGrath

Photo by Katy McGrath

Photo by Katy McGrath


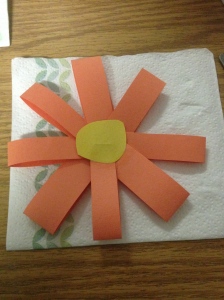
Then glue the middle of the flower to your pedals.

Photo by Katy McGrath

Photo by Katy McGrath

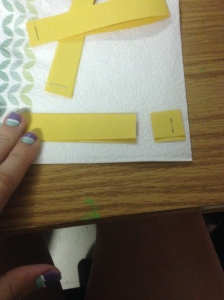
To make your flowers smaller, you can cut the stapled part of the pedal off and then re-staple it.

IMG_6249

Photo by Katy McGrath

I made two flowers that are different sizes than the first flower.

Photo by Katy McGrath

Photo by Katy McGrath

Photo by Katy McGrath

Photo by Katy McGrath


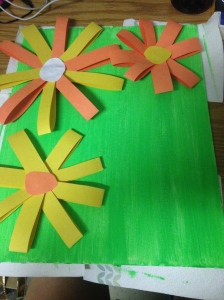
After the glue on the flowers dry, you can begin placing them anywhere on your painted canvas.


Photo by Katy McGrath

Photo by Katy McGrath

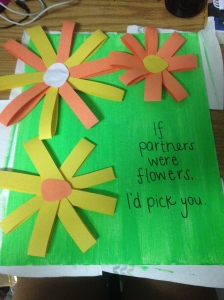
I added a cute quote in the empty space.

Photo by Katy McGrath

Photo by Katy McGrath

There you go! Now you have a craft that screams springtime romance.

Thank you for reading and be sure to follow me on Twitter: @kjo_mcgrath 🙂

Top Five Date Ideas

Here is a list of the top five date ideas I think are the cheapest and most romantic.

5. Picnic in the park

This date is involves food, your special someone, and the outdoors. It’s also cheap. Make a few peanut butter and jelly sandwiches (it would be cute if each person made the other’s sandwich), grab a blanket and head out to your favorite park.

4. Go tubing down the nearest river

I don’t know about you, but I love the water and the sun. It would be incredibly romantic to soak in the sun while you float down an unknown river, roped to your significant other’s tube. No work involved here–just let the river take you on its own path and relax. The only cost of this date idea is the cost of the tube itself (approximately $5).

3. Movie Night

Who doesn’t love a fun night at home? No need to worry about dressing up or spending any money with this date idea. Just you and your special someone wearing your comfiest pajamas, lounging on the couch with some popcorn and candy, while watching your favorite movie.

2. Cook together

Nothing is more romantic than a couple that can have fun while cooking. As someone who isn’t the best chef in the world, I think people that can cook are especially appealing. That’s why cooking with my special someone is always romantic. Cooking together can also help build communication and teamwork skills in your relationship…if you’re looking for that sort of thing.

1. Camp out under the stars

To lie next to your significant other and stargaze is simple, yet full of wonder. The only thing that matters is your other half and the stars above you. Focusing on something so far away brings curiosity and thoughtful conversation. One can only hope to get lost in the wonder of the stars and the presence of the one you love next to you.

Thank you for reading! I hope you find these date ideas romantic and exciting.

Check out this link to more romantic date ideas that don’t break the budget: greatist.com

Don’t forget to follow me on Twitter: twitter.com/kjo_mcgrath 🙂

A Heart Made Straight from the Heart

This craft is one of patience and small fingers.

Origami is older than time itself, yet is timeless. It is beautiful, ornate, and straight from the heart. With that being said, here is a literal origami heart.

The first step is to find a piece of paper. Any paper will work. I used regular white printer paper for my heart.

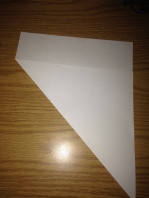
If your paper is rectangular, fold one side to the other and cut off the excess paper. If it is already sure, then proceed to the next step.

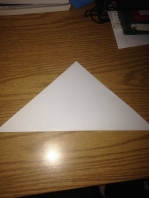
IMG_6111 IMG_6112

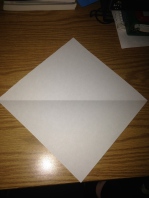
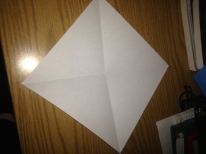
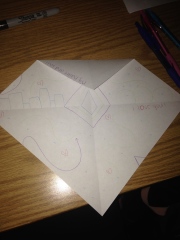
Next, open up your paper so there is one crease from one corner across the page to another corner. Then, fold opposite corners so there is a cross shape from each of the four corners and make the paper face you in a diamond shape instead of a square shape, as shown in photo 3.

IMG_6114 IMG_6115 IMG_6116

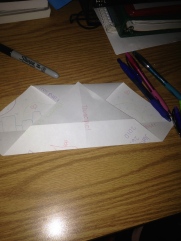
Next, fold the top corner down until the point touches the center crease. Also, feel free to decorate as much or as little as you would like.

IMG_6119

Then, fold the bottom half until the point touches the top of the top half.

IMG_6121

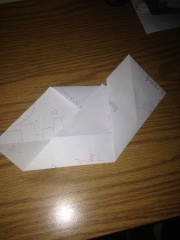
The next step is to fold the right side of the paper to the center crease.

IMG_6123

Do the same to the left side.

IMG_6124

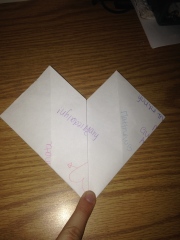
You should now see the shape of the heart, but we’re not done yet!

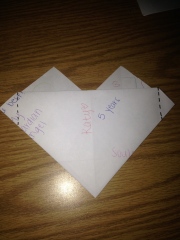
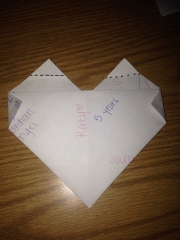
Next, flip the heart over and fold the corners where I have made a dashed line on both the left and right sides.

IMG_6126

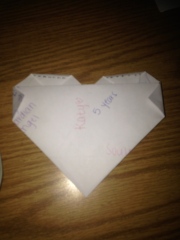
Fold the top points down into the paper fold below it. I have drawn two dashed lines for guidance.

IMG_6128 IMG_6130

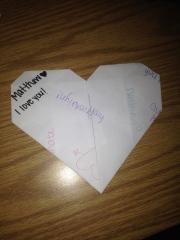
When you flip the heart back over, you will notice that some folds do not sit down flat. I took tape to these folds to hold them down.

IMG_6132

Finito! You now have a cute origami heart made straight from the… heart. 🙂

Date Night Decision Jar

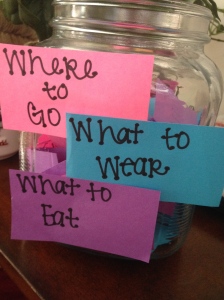
The Date Night Decision Jar is a perfect way to create a unique date that doesn’t break the budget. Each color represents a different aspect of the date: where to go, what to wear, and what to eat afterwards. Simply pull out a slip of paper of each color and BAM! you’ve created a memorable date that will last a lifetime.

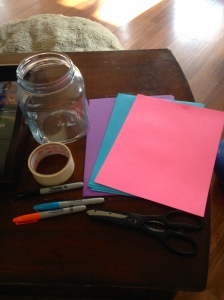
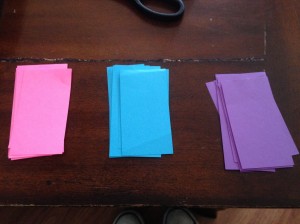
The first step is to gather all your supplies. These include three sheets of paper of each color (I used pink, blue, and purple), a jar or something to put the slips of paper in (a shoebox, a plastic container, etc.), scissors, tape, and something to write with.

IMG_5815

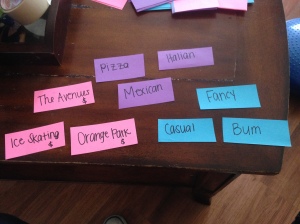
Next, cut each sheet of paper into strips about an inch wide. Then determine which color correspond to which aspect of the date. For example, I used pink for “Where to go”, blue for “What to wear”, and purple for “What to eat.”

IMG_5817

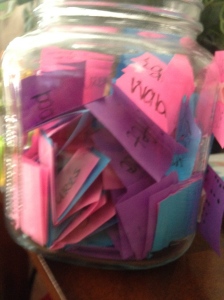
Next, begin to write activities, clothing options, and restaurants and/or types of food (Italian, Mexican, Japanese, etc.) on the corresponding colors and place them into the jar. The activities I used are local to my area.

IMG_5819 IMG_5830

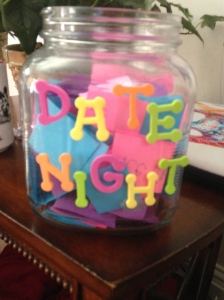
To make this DIY project even cuter, you can opt to decorate your jar. I simply added a few sticky letters to spell out “Date Night” and a key to what each slip of paper means.

IMG_5823 IMG_5826

That’s it! Now you have a jar with all your future unique dates.

Thank you for reading! Happy dating!

Hugs and Pretzels

Sweet and salty snacks are my favorite, especially when I get to make them with the one I love.

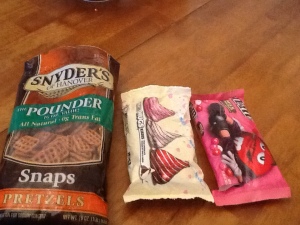
This particular snack involves Synder’s pretzel snaps, Hershey’s hugs, and your favorite kind of M&M’s.

Here is a quick step-by-step on how to make this delicious sweet and salty snack!

First, get together all your supplies and pick which kind of M&M’s you would like to use. You can use ones with peanuts, peanut butter, or regular chocolate. I chose regular chocolate.

photo 1

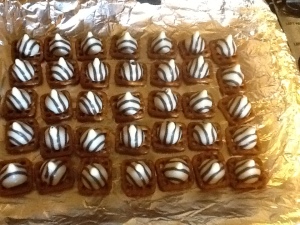
Then, place pretzels on a baking sheet lined with tin foil, putting one hug on top of each pretzel.

photo 2

Next, heat the oven to 200 degrees. Then place your hugs and pretzels inside the oven for five minutes.

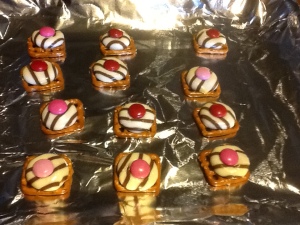
After five minutes, your hugs should be melted. After taking them out of the oven, immediately place one M&M on top of each hug.

photo

Let them sit until the hug hardens and it is cool enough to handle.

Wah-lah! You now have a delicious sweet and salty snack that you can share with your loved one.

About

Do-It-Yourself projects are fantastic a way to show your loved ones that you care, while keeping your wallet full and happy.

Several times a year, I buy my boyfriend gifts online or in different stores, but it never feels quite as personal as I would like. When he looks at my gifts many months from now, I want him to smile and remember exactly where it came from. That is when I decided to start making DIY gifts!

I created “Hearts and Laughs” to help people show their appreciation and love for others in a way that doesn’t break the bank. My name is Katy McGrath and I am a journalism major at the University of Florida. As a college student, I know the pressures of trying to find the perfect gift without breaking the budget. I have always loved DIY projects. My mom and I get crafty when decorating for the holidays. My mom is my inspiration for creating this blog. Out of a few cheap supplies, that woman can make anything. I aspire to be as crafty as she is, and share my knowledge with the world.